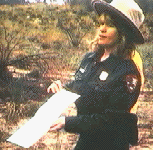
CK explains that she has brought tools to use to measure elements in the
habitat. We will conduct measurements with the tools at each habitat and
enter the information in records. We will also list plants and animals observed
in each habitat. The tools measure the percolation rate of water into the
soil, air and soil temperature, light and moisture.
We go a bit down the trail and stop in a sandy area with dune grass. KC
has two measurement kits. She explains that there will be two groups. Each
will need a secretary to record the measurements, record the plants identified
and record signs of animals.
Ranger shows notebook for making measurement
records. 
She looks around and asks the kids to "think of a
name for this habitat." She immediately points out the most common
plant, the marram grass, and explains that it "holds the dune together."
She explains that if people step on it enough it will die. She says that
a good name for this habitat is "marram
grass dune."
The students gather around as KC demonstrates how to use the measurement
tools.
Ranger demonstrates measurement tools. 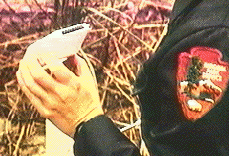
Percolation Test
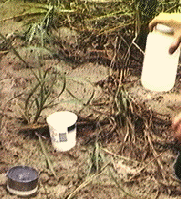
KC demonstrates the use of water (in plastic container)
a pouring cup and a percolation container which is a can that is open at
both ends and inserted into the ground. KC fills a pouring cup with water.
Next, the water is poured into the section of the can that sticks out of
the ground. She asks someone to monitor their watch to time how long it
takes for the water to soak completely into the ground. Some boys watch
the seconds on their wrist watches.
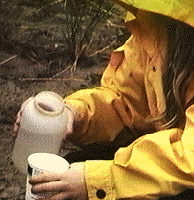 A student then follows her
model, establishing and performing the percolation test. She pours water
into pouring cup.
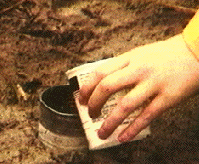 and then pours water
into the percolation container.
Another student times percolation . 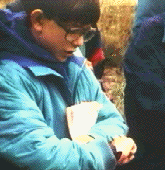
2. The light meter is checked , so is the moisture gauge.
3. Wind direction is determined by feeling the wind on the body. Its speed
is checked with an instrument.
4. The air temperature and soil temperature are checked. Soil temperature
is checked at the surface and about 4 inches beneath the surface. .
Student inserts measurement tool into soil.
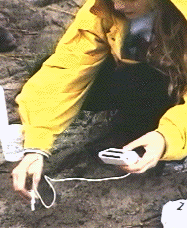
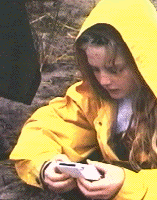 Student reads measurement.
5. Students enter data into their notebooks.
KC cleans off the can and other instruments before placing them back in
the the kit.
Then she guides the student through which plants should be written down,
such as sand cress and sand cherries. She asks the students which animals
they might find here.
"Ants" one girl says. "A rabbit?" asks another. KC says
that if there was more time, they could look for signs of droppings. There
are snakes here, especially the hog nosed snake and the garter snake. KC
says the hog nosed snake eats toads. "Then there must be toads here,"
Alex comments. The kids volunteer to carry the measurement kits and we move
on to the next habitat.
Return to Field Trip Menu